Showing posts with label crafting. Show all posts

The Barbie TARDIS

>> Sunday, August 4, 2013


Meet the Barbie TARDIS!


I built this for my daughter Jo, who is eleven years old and super into Doctor Who. (As she should be.) She has dressed up one of her dolls in a Who-esque costume, and calls her the Lady Doctor. I couldn't let the Lady Doctor travel without a TARDIS of her own!


The TARDIS is made out of scrap plywood of different widths I had lying around from previous projects. The windows are a thick frosted plastic, with the casement lines drawn on with a Sharpie. They let in a soft light, which I like, and Jo likes putting electric tea candles inside and letting the windows glow from within. With both doors open, you can see inside where I glued the windows in.


The "POLICE BOX" signs at the top were found online (thanks, Who-builders!) and glued on with Spray-Mount. The blue paint was chosen by Wendi and Jo on one of their trips to Asheville--I think they nailed the TARDIS blue!


The sign on the telephone door was printed out from a larger image I found on the web. In this picture, you can also see the teeny-tiny handles I bought from woodvictoriandollhouse.com. They came in brass, so I spray-painted them black. The handles, the paint, and the hardware for the light on top were the only things I had to buy for the project.

I should also point out that though I like to call this "The Barbie TARDIS," that doll is not a Barbie. She is, in fact, a Monster High doll, which Jo much prefers. This is the Robecca Steam doll, who is steampunk-themed. The clothes, however, are homemade--they are pieces from the Project Barbie challenge Wendi and I did together years ago, when we made Barbie clothes to match the challenges on a season of Project Runway. Jo likes the colors because she feels they are very Doctor Who.


While I was building the TARDIS (which took MONTHS, much to Jo's chagrin) I saw this little K-9 advertised on ThinkGeek, and I had to get it for her!


And look--the scale is perfect! I surprised her with it (and the finished TARDIS) when she got back from sleepaway camp last month. The TARDIS itself is pretty large--about 16.5 inches tall and 8.5 inches wide. Jo likes it because her Lady Doctor can fit a lot of companions in there with her, including K-9.


I'm really pleased with the look of the signage, and the slightly mottled look the plywood took on when I painted it. It looks like a weathered and used TARDIS.


I decided to add the St. John Ambulance logo, which is on the 11th Doctor's TARDIS. Here again you can see one of the super-tiny handles.


I struggled with how to do the light at the top. I trolled the dollhouse aisles at our local hobby shops and surfed around online looking for a sort of hurricane lamp I could appropriate for a light on top, but never found anything. Then I had the idea to use a test tube--and we just so happened to have a tiny one already, which was being used to hold beads! The test tube is inserted upside-down through the three layers at the top, and held in place with a swinging hatch made out of the window plastic, so I can replace the little light bulb if and when it blows out. The light bulb was bought at a hobby shop--it's meant to light streetlamps and homes on a model train layout.


The light is strung to a 9-volt battery on the inside, and then to a little switch I acquired at Radio Shack. Because who doesn't love flipping switches!? The light switch sticks out the back corner of the TARDIS, and is pretty unobtrusive. I had dreamed of attaching a sound chip to it with the sound of the TARDIS taking off and landing, but alas, that's beyond my very limited technical abilities. As it is, the TARDIS goes "WERRRN-WERRRN-WERRRN" only when you flip the switch and say "WERRRN-WERRRN-WERRRN" at the same time.


Here's a pic of one of the unpainted panels. I used a coping saw to do the windows, and ended up using a chisel to hack out the top layer of plywood to create the panels. When my chiseling got rough, I smoothed it with wood putty, as you can see in that top right panel, then sanded it flat.


The Barbie TARDIS, exploded view, during the painting phase.


I'm thrilled with the result, and so is Jo! Allons-y, Lady Doctor!

Read more...

My Favorite Summer Day Trip

>> Tuesday, June 14, 2011


I was asked to write a short piece about a favorite North Carolina summer day trip for Artful Living, a regular newsletter from the North Carolina Arts Council. I picked something right in my back yard: Penland School of Crafts! Check out my suggestion and more from other NC artists here.

Read more...

Check out my new R2-D2 beanie!

>> Thursday, May 19, 2011


Check out this awesome R2-D2 beanie Wendi made for me! I love it so much I've been wearing it around the house even when there's no one here to see it.


It's far too time-intensive for her to sell them affordably, but Wendi is selling the pattern as an add-on to her basic beanie pattern. To learn more, click here to go to her craft blog, Shiny Happy World!

Read more...

Silly Jo

>> Tuesday, February 15, 2011

Jo was in a super silly mood yesterday when she helped me photograph these Huggable Blockheads. I got silly pictures, pretend-sleeping pictures, lots (and lots) of pictures with her tongue sticking out, and a bunch of blurry shots because she was moving around so much. It took about ten times as long as it should have - and I loved every minute of it.

Read more...

Happy Valentine's Day!

>> Monday, February 14, 2011

Jo saw me working on some little stitched girls for this Friday's pattern over on my Shiny Happy World. She decided that this girl was her favorite so I surprised her by stitching it up as a little felt pin. Easy peasy - and it's so much fun to embroider on felt. I need to do it more often.

Happy day!

Read more...

Pssst. . . There are Ninjas, Too!

>> Tuesday, December 28, 2010

Just a quick sneak peek at something I've been working on for release next week at my Shiny Happy World. Have you signed up for my mailing list yet? You don't want to miss the pirates and ninjas - do you?

Read more...

Easy Peasy Rainbow Skirt

>> Wednesday, December 22, 2010

Alan lost a bunch of weight this year - which means I got a huge stack of too-big clothes to play with. Jo's response when she saw the pile? "Will you make me some clothes from those? I love it when you make things for me out of Daddy's old clothes!" I love it that that's still her attitude - I know at some point she probably won't want to wear things made from her dad's cast-offs. But for now? She got this skirt made from one of his T-shirts. She really does love these super-comfy skirts - though she likes them to be jazzed up a bit. For this one I stitched a rainbow of backstitches around the hem.
For the bottom two rows I stitched right in the stitch lines for the existing T-shirt hem. That dictated the spacing for the rest of the rows - which I eyeballed.

At some point I'll write up a tutorial for this kind of skirt. For you adventurous types who want to try it right away - cut the T-shirt straight across at the armpits. Turn the cut edge down to form a casing for elastic and stitch it in place. Thread some elastic in, close the casing and you're ready to fancy it up. Easy peasy.

Read more...

How to Make an Easy - and Extremely Cute! - Ironing Board Cover

>> Friday, December 10, 2010

I'm getting ready to shoot a video on pressing vs. ironing (I know! So exciting!) and I decided I just couldn't do it on my old, water-stained ironing board cover. I have a magnificent Michael Graves extra-wide ironing board that I bought several years ago. When I bought it I had the foresight to buy an extra Michael Graves cover - knowing that by the time I needed a new cover the extra-wide version would be long gone. I've moved it to four homes and I finally took it out of the package today - only to find that it was a standard-sized cover. Aaargh!

I was. . . angry. I briefly considered putting the icky old cover back on the ironing board - but it was really pretty gross. And then I realized it was just a flat piece of fabric - no shaping - nothing fancy. Even the drawstring was just slipped through the serged edge.

I realized I could use the old, stained cover as a pattern for a new cover - and one that would be way cuter than the boring Michael Graves design I had been schlepping around for years.
How about this cute Peter Pan fabric I bought in Japan? I just laid the old cover on the new fabric and cut around the edge. (New pattern weights are on my list of Things to Make Soon.)
I even made improvements! Instead of a flimsy serged edge I used some old (really old - look at that price!) seam binding tape someone gave to me. Bonus points for it being orange and looking so cute with the fabric.
I stitched the binding around the edge. I pulled the drawstring out of the old cover and reused it on the new one - I just threaded it through the binding tape using a big, blunt needle.
 
The original cover was tightened on the board and just knotted in place. I used this fancy sliding springy thing instead of a knot.
Now I get to iron on cuteness every day. Squee! I was so inspired that I didn't even shoot my video - I started on a new skirt for Jo instead.

By the way - the whole project took less than an hour from start to finish. Everyone should pretty up their ironing board this way!

Read more...

So You Want to Learn How to Sew, Do You?

>> Thursday, December 9, 2010

I meet a lot of people - kids and adults - who want to learn how to sew. And it's fun to teach them! I've taught kids as young as six how to sew stuffed animals, skirts, aprons, and doll clothes - all of their own design! I've taught teens how to refashion a wardrobe from thrift-store finds. I've taught grown-ups how to make clothes and toys for their children and grandchildren, and how to sew beautiful quilts without stress. And I've loved every minute of it!
I've taught at schools and summer camps, colleges and fabric stores. I've published books and online tutorials. But now I'm thinking bigger. I've set up a whole website just for all those folks out there who want to learn to sew. Starting in 2011 there'll be two new video lessons every week - one sewing and one embroidery. There'll be lots of projects for you to practice your new skills. There'll be galleries where you can share (and show off!) your work.
By the end of the year you'll be able to sew everything from stuffed animals to clothing. You'll be the master of zippers and buttonholes. You'll know tricks for working with all kinds of fancy fabrics - from velvet to tissue lame. You'll know what tissue lame is! And you'll have fun. Hopefully, lots and lots of fun.
Through the end of the year I'm posting a lot of videos covering the basics - how to choose a machine, how to use an iron, etc. We'll start with the fun sewing stuff (and projects!) in January. So right now - if you want to learn to sew in 2011 - sign up for my newsletter so you won't miss a thing. If you have a friend (or a child) who wants to learn to sew - get them signed up. There will be plenty of boy-friendly projects too - so get those boys signed up as well.
Gather your materials. I have a post on choosing a sewing machine here. If you already have a machine but it's been gathering dust and you don't know how to thread it - take it in to your local sewing machine store. Have it cleaned and ask them to give you a quick lesson on threading and basic maintenance.

You'll need some hand tools too. I've posted a list of the basics here. If you're signing a friend or a child up, a collection of all the tools they'll need would make a terrific holiday gift.

If you just want to learn to embroider - stay tuned. You'll need only a few basic tools and I'll have a list posted next week. You can go ahead and sign up for the mailing list now.

I hope to see lots of you over at my Shiny Happy World next year! Happy sewing!

Read more...

The Masked Sewing Bandit

>> Tuesday, December 7, 2010

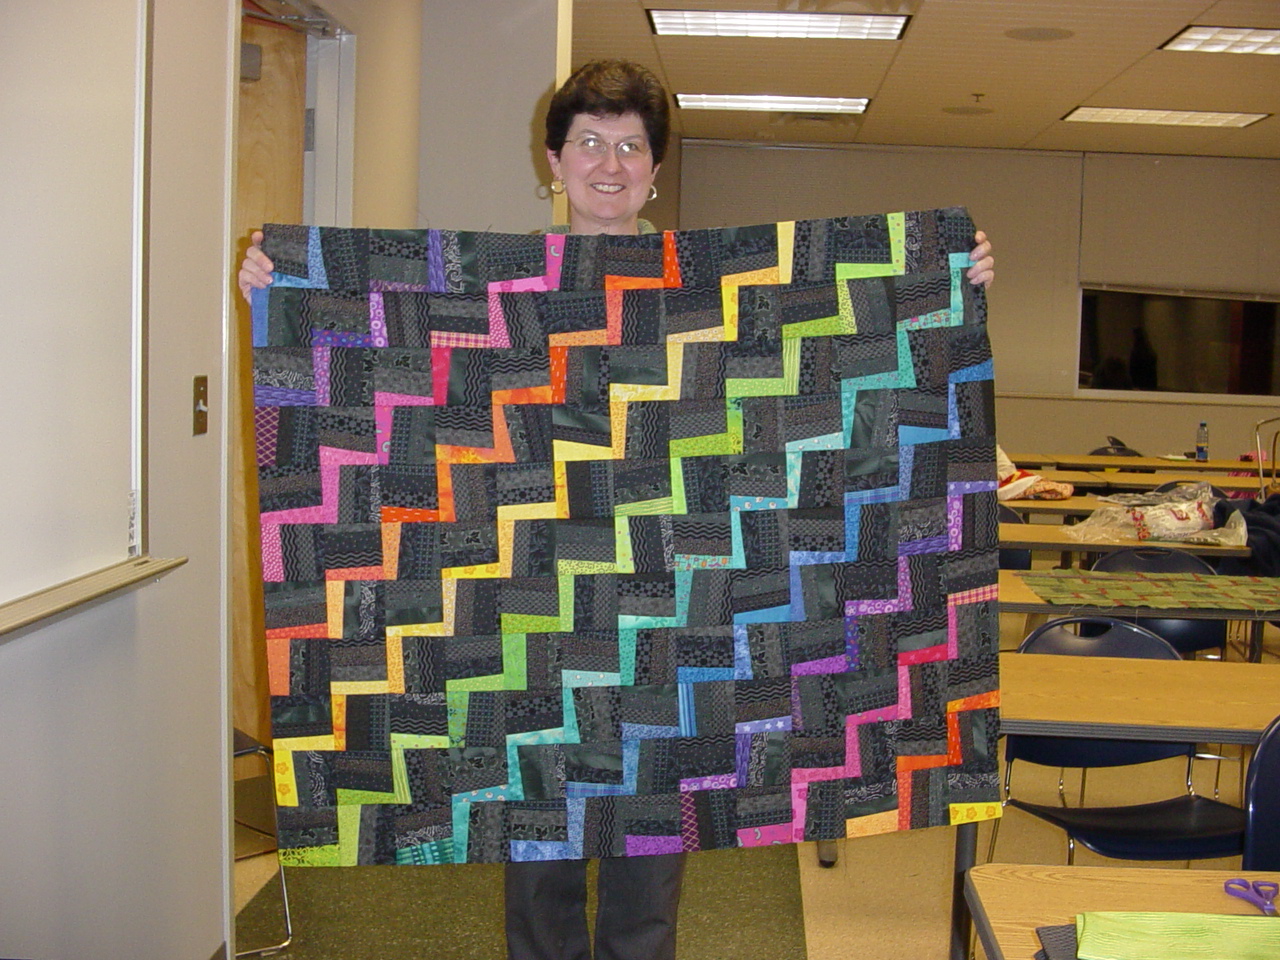
Jo finished her first quilt top yesterday. I'm putting the back on today for her. Proud finished pictures coming soon - but I couldn't resist sharing this one right away.

Read more...

You're Invited to an Open Studio Tour

>> Wednesday, December 1, 2010

I'll be the guest of Michael Kline and Stacey Lane at the Toe River Studio Tour this weekend. Come join us! 


Michael will have plenty of warm pots, fresh from the kiln, as well as his new lamp designs! Alan helped him and Courtney Martin stoke the kiln yesterday. The man does love to burn things!
 

Stacey will show several new styles of pearl jewelry and work featuring recently found, lovely stones!
 

And me? I'll be bringing brand-new bears. . .

bunnies. . .

. . . a handful of ragdolls. . .

. . .lots of colorful stockings. . .

. . . and unbreakable ornaments.

Friday December 3rd, 12 noon-5 pm
Saturday, December 4th, 10 am-5 pm
Sunday, December 5th, 10 am-5 pm

We're at Studio No. 30 on the TRAC studio tour map. And here are directions to Michael's studio.


While you're out and about in the area, stop by Courtney Martin's for more pots. . .


and John Geci for some glass. They're both at #19 on the map - just a mile or so from Michael's studio.


Also visit Erin Peters for a special Bulabags open house on Sunday from 1-6. You can even look through her fabrics and design your own bag - and get it in time for the holidays. Woot!

Looking forward to a fabulous weekend!

Read more...

Mahar Drygoods Is Closing!

>> Monday, November 29, 2010

Sad news folks. Mahar Drygoods - THE coolest place to buy kid stuff online - is closing. They carry the work of some of my favorite artists, and the day Robert Mahar emailed me to inquire about carrying my dolls was one of my best business days ever. Ever! When I "rebranded" my Shiny Happy World last year and narrowed the focus of what I do, one of the ways I articulated that focus was to ask myself about every potential product, "Is this the kind of thing Mahar Drygoods might carry?" Seriously. And now they're closing.

The good news is that they're not closed yet, and they'll still be selling some amazingly awesome stuff through the holiday season. So head over, take a look, and buy something fabulous. They have a small handful of my dolls too, so if you think Lucy Grace. . .

Lucy Hannah. . .

Lucy Ida. . .

Abigail Fannie. . . (sorry - she's sold now)

or Abigail Georgia. . .

. . . would be a perfect friend for your little one, now's your chance to buy them from an amazing shop.

Also - Robert Mahar will still be running The Junior Society. If you like what you see at Mahar Drygoods and want to see more awesomeness curated with the same sense of style, check it out. You won't be sorry.

Read more...
Related Posts with Thumbnails
Read Alan's archived newsletters here.

Blog Archive

Swell Stuff

My Etsy Favorites

  © Blogger template Simple n' Sweet by Ourblogtemplates.com 2009

Back to TOP